ROKR Cuckoo Clock Assembly: Complete Step-by-Step Guide
Building a ROKR cuckoo clock is one of the most rewarding mechanical model projects you can tackle. These intricate wooden kits combine traditional craftsmanship with modern precision engineering, creating a functional timepiece that's both beautiful and educational to assemble.
Key Takeaways:
- ROKR cuckoo clock assembly typically takes 6-8 hours for beginners
- Pre-sorting components and having proper tools saves significant time
- The pendulum mechanism requires precise calibration for accurate timekeeping
- Common issues include gear misalignment and spring tension problems
- Patience during the movement assembly phase prevents costly mistakes
What Makes ROKR Cuckoo Clock Assembly Unique?
ROKR cuckoo clock assembly stands apart from other wooden model kits due to its functional mechanical movement. Unlike static display models, these clocks feature working gears, pendulums, and the iconic cuckoo mechanism that chimes on the hour. The precision-cut wooden components interlock without glue, relying on careful engineering and your assembly skills to create a fully operational timepiece.
The complexity level sits between intermediate and advanced, making it perfect for crafters who have completed simpler projects like wooden mechanical music boxes but want to tackle something more challenging. Each kit includes approximately 160-180 laser-cut pieces, detailed instructions, and all necessary hardware.
Essential Tools and Preparation for Clock Assembly
Before starting your ROKR cuckoo clock assembly, gather these essential tools:
- Small flat-head screwdriver - For adjusting springs and fine-tuning mechanisms
- Needle-nose pliers - Essential for handling small springs and wire components
- Craft knife - For cleaning up any rough edges on wooden pieces
- Fine sandpaper (220-grit) - To smooth components if needed
- Good lighting and magnifying glass - Critical for detailed work on small parts
- Clean workspace - A large, flat surface with good organization
Preparation is crucial for success. Start by carefully removing all components from their wooden sheets, organizing them by type and size. Many experienced builders recommend creating a parts inventory using the instruction manual's diagrams before beginning assembly. This prevents confusion later and helps identify any missing pieces early in the process.
Step-by-Step ROKR Cuckoo Clock Assembly Process
The assembly process follows a logical sequence that builds complexity gradually:
- Frame Construction: Begin with the main clock body, assembling the front and back panels with the internal support structure. This creates the foundation for all other components.
- Gear Train Assembly: Install the primary gear mechanism that drives the clock's movement. Pay careful attention to gear alignment - even small misalignments can prevent proper operation.
- Pendulum Mechanism: Attach the pendulum assembly, ensuring smooth swing motion without friction against other components.
- Weight System Installation: Mount the weight chains and pulleys that power the clock's movement. Proper weight positioning is critical for consistent timekeeping.
- Cuckoo Bird Mechanism: Install the spring-loaded cuckoo bird and its activation mechanism, testing the chiming function before final assembly.
- Face and Hands Attachment: Mount the clock face and attach the hour and minute hands, ensuring they clear all obstacles during rotation.
- Final Calibration: Adjust the pendulum length and weight positions for accurate timekeeping.
Each step requires patience and attention to detail. The gear train assembly, in particular, demands precision - take time to ensure each gear meshes properly with its neighbors. A common mistake is forcing components that don't fit easily, which can damage the delicate wooden teeth.
Troubleshooting Common Assembly Issues
Even experienced builders encounter challenges during ROKR cuckoo clock assembly. Here are the most common issues and their solutions:
Gears Not Meshing Properly: This usually indicates misaligned components or debris between gear teeth. Carefully disassemble the affected section, clean all surfaces, and reassemble with attention to the instruction diagrams.
Pendulum Won't Swing Freely: Check for friction points where the pendulum contacts other parts. Slight sanding or repositioning of components typically resolves this issue.
Cuckoo Bird Won't Emerge: The spring mechanism may be too tight or the bird's path obstructed. Adjust spring tension gradually and ensure the bird's track is clear.
Clock Runs Fast or Slow: Pendulum length adjustment is the solution. Longer pendulums slow the clock, while shorter ones speed it up. Make small adjustments and test over several hours.
Hands Binding or Stopping: Usually caused by hands touching each other or the clock face. Carefully bend the hands slightly to create clearance, maintaining their shape.
Advanced Tips for Perfect Clock Assembly
Professional model builders share these advanced techniques for superior results:
Dry Fit Everything First: Before final assembly, test-fit all components without pressing them fully into place. This allows you to identify potential issues before they become permanent problems.
Use Proper Lubrication: While most components run dry, key pivot points benefit from a tiny drop of light machine oil. Apply sparingly to avoid attracting dust.
Create Assembly Jigs: For complex sections like the gear train, create simple cardboard templates to hold components in proper alignment during assembly.
Document Your Process: Take photos at each major step. This creates a valuable reference if disassembly becomes necessary for repairs or adjustments.
Test Incrementally: Don't wait until final assembly to test functionality. Check each mechanism as you build it, making adjustments when components are still easily accessible.
Maintenance and Long-Term Care
A properly assembled ROKR cuckoo clock can provide years of reliable service with minimal maintenance. Monthly winding keeps the mechanism active, while quarterly cleaning prevents dust accumulation in the gear train.
Store the clock in a stable environment away from extreme temperature changes and direct sunlight, which can cause wooden components to expand and contract. If the clock begins running irregularly, the pendulum length may need readjustment due to seasonal humidity changes affecting the wood.
For enthusiasts who enjoy the mechanical model building process, consider expanding your skills with other precision kits like architectural model kits or wooden ship models, which offer different but equally rewarding challenges.
Taking Your Model Building Skills Further
Successfully completing a ROKR cuckoo clock assembly opens doors to more advanced mechanical modeling projects. The skills you've developed - precision assembly, mechanical understanding, and patience - transfer directly to other sophisticated kits.
Consider progressing to projects with integrated lighting systems like illuminated miniature buildings or exploring different materials with metal 3D puzzles. Each project type offers unique challenges that build upon your foundational skills.
Ready to start your next building adventure? Explore our complete collection of premium model kits and discover your next challenging and rewarding project. From intricate mechanical movements to detailed architectural recreations, we offer the quality kits that serious builders trust for their most ambitious projects.
Shop products from this guide

ROKR Metal Stag Beetle 3D Puzzle - Mechanical DIY Kit
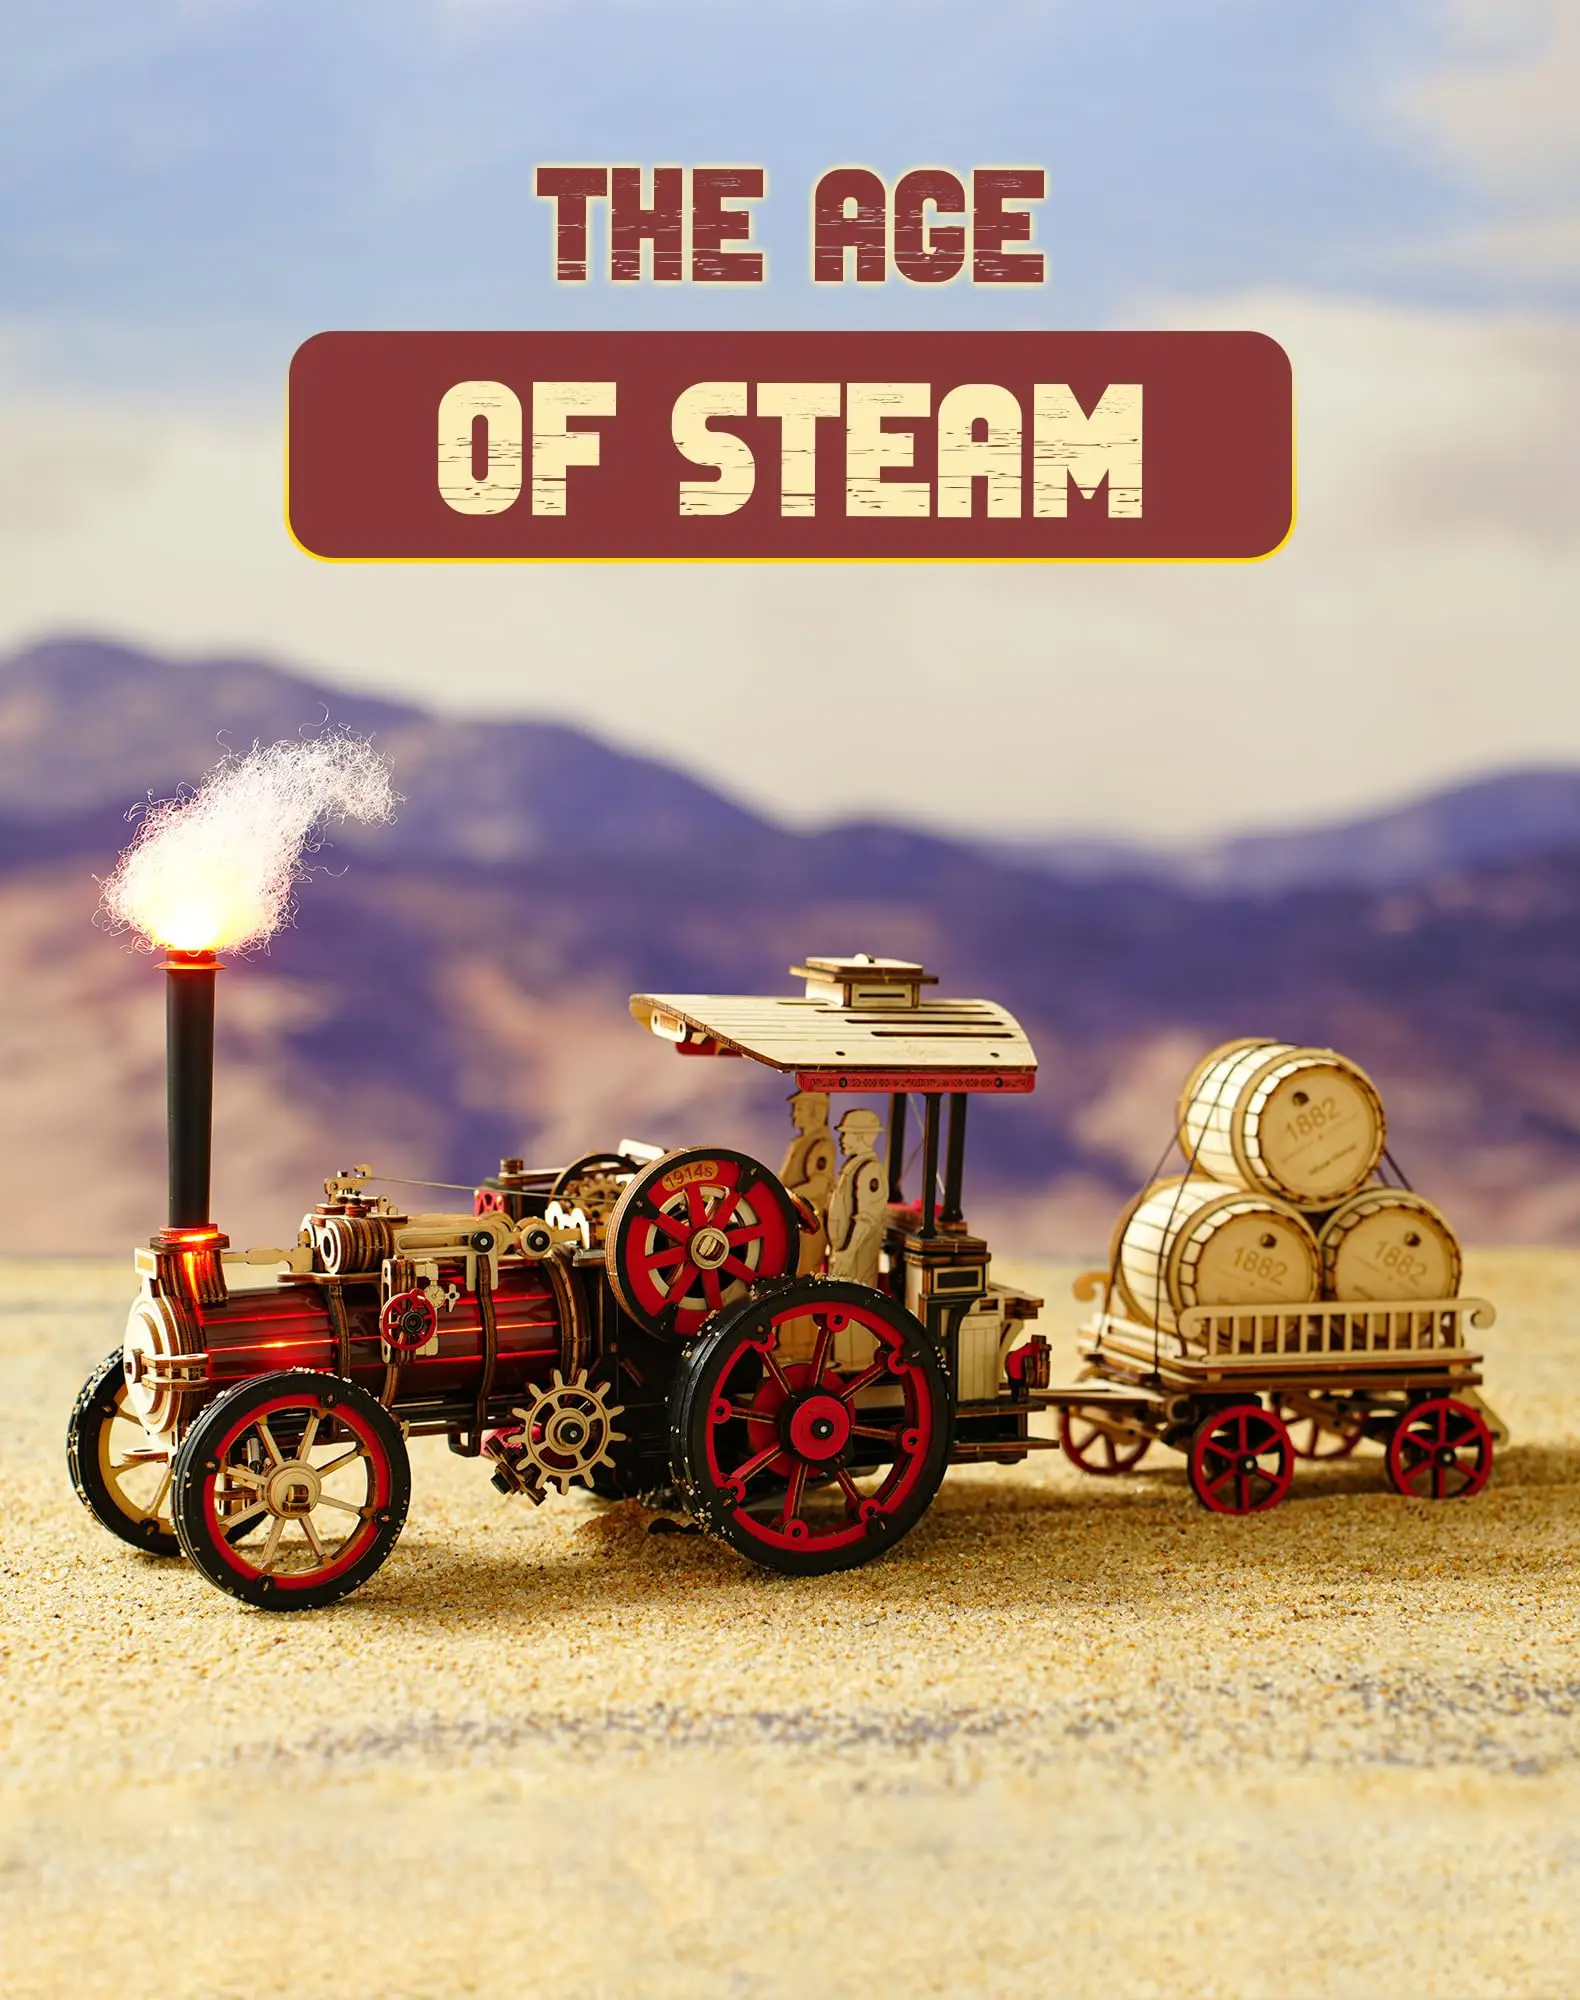
ROKR Steam Engine Car 3D Wooden Puzzle Model Kit

DIY Magic House Book Nook Kit - Lighted Bookshelf Insert

DIY Book Nook Kit - Miniature Bookshelf Diorama Assembly
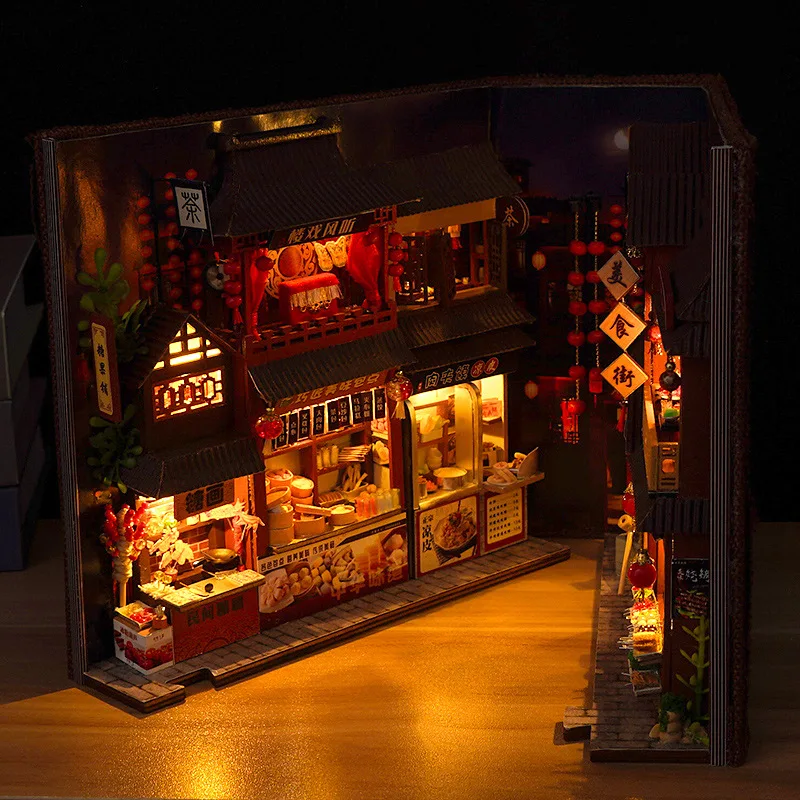
DIY Book Nook Kit - Miniature Doll House Bookshelf Insert
