Metal Model Kit Assembly: Complete Guide to Tools & Techniques
Metal model kits offer an incredibly rewarding hobby that combines precision engineering with artistic craftsmanship. Whether you're building intricate aircraft, detailed vehicles, or architectural marvels, the satisfaction of completing a metal model kit assembly project is unmatched. These precision-cut metal pieces transform from flat sheets into stunning three-dimensional masterpieces through careful assembly and attention to detail.
Metal model kit assembly requires specific tools, techniques, and patience to achieve professional results. The key to success lies in proper preparation, using the right tools, following systematic assembly methods, and knowing how to troubleshoot common issues. With the right approach, even beginners can create impressive models that rival those built by experienced hobbyists.
Key Takeaways:
- Essential tools include needle-nose pliers, metal snips, files, and a cutting mat
- Proper part preparation and test-fitting prevents assembly problems
- Work in good lighting and take breaks to maintain precision
- Common issues like bent tabs and misaligned parts have simple solutions
- Finishing techniques like polishing and detailing elevate your final model
What Tools Do You Need for Metal Model Kit Assembly?
Success in metal model kit assembly starts with having the right tools. Unlike plastic models that can sometimes be assembled by hand, metal kits require specialized tools to handle the precision-cut steel or aluminum components safely and effectively.
Essential cutting and shaping tools form the foundation of your toolkit. High-quality metal snips or aviation shears are crucial for cleanly removing parts from their sheets. Look for snips with fine, sharp blades that can make precise cuts without crushing delicate details. A sharp craft knife with replaceable blades serves as a backup cutting tool and helps clean up rough edges.
Pliers and bending tools are your primary assembly instruments. Needle-nose pliers with smooth jaws prevent scratching while allowing precise manipulation of small tabs and connectors. Flat-nose pliers help create clean, straight bends, while round-nose pliers are perfect for forming curves and loops. Consider investing in pliers with cushioned grips for extended building sessions.
Finishing and detail tools elevate your completed model from good to exceptional. A set of small files (flat, round, and triangular) helps smooth rough cuts and refine part edges. Sandpaper in various grits (220, 400, and 600) allows progressive smoothing of surfaces. A metal polish and soft cloth bring out the natural shine of the metal components.
Don't overlook workspace essentials that make assembly safer and more enjoyable. A self-healing cutting mat protects your work surface and provides measurement guides. Good task lighting, preferably LED with adjustable positioning, reduces eye strain and helps you spot fine details. A parts organizer or small bowls keep components sorted and prevent loss of tiny pieces.
Step-by-Step Metal Model Assembly Techniques
Mastering proper assembly techniques transforms metal model kit building from frustrating trial-and-error into a smooth, enjoyable process. These systematic approaches work whether you're building a vintage car model or tackling more complex architectural projects.
Part preparation is the critical first step that many beginners overlook. Before removing any piece from its sheet, study the instruction manual thoroughly and identify all components for the current assembly step. When cutting parts free, leave a small stub of the connection point rather than cutting flush – you can file this smooth later without risk of cutting into the actual part.
After removal, inspect each piece for burrs or rough edges left by the laser cutting process. Use a fine file or sandpaper to smooth these areas, working in one direction rather than back-and-forth to avoid scratches. This preparation step prevents assembly problems and ensures clean-looking joints.
Test fitting should become second nature before making any permanent connections. Metal parts can be unforgiving once bent or twisted into place, so always check alignment and fit before committing to the final assembly. If a part doesn't fit easily, resist the urge to force it – instead, check for interference from burrs, verify you have the correct orientation, or confirm you're following the right assembly sequence.
The actual assembly process requires patience and methodical progression. Start with larger structural components and work toward smaller details. When bending tabs or making folds, use the edge of your work surface or a straight-edge tool as a guide for clean, consistent angles. Make bends gradually rather than forcing sharp creases, which can weaken or crack the metal.
For complex assemblies, work in sub-assemblies when possible. Complete major sections like wings, fuselages, or building facades separately before joining them together. This approach provides better access for detail work and makes it easier to correct mistakes without affecting the entire model.
Advanced Assembly Tips
Professional builders employ several advanced techniques that dramatically improve results. Dry assembly involves completing the entire model without permanent connections first, allowing you to identify potential issues and plan your approach. Mark problem areas with a pencil and address them before final assembly.
Progressive tightening of connections ensures even stress distribution and prevents warping. Rather than fully securing each joint as you go, leave connections slightly loose until the entire section is in place, then systematically tighten everything for optimal alignment.
Common Metal Model Kit Problems and Solutions
Even experienced builders encounter challenges during metal model kit assembly. Knowing how to identify and solve common problems saves time and prevents frustration that can derail an otherwise enjoyable project.
Bent or damaged tabs rank among the most frequent issues. These delicate connection points can bend during shipping or handling, making assembly difficult or impossible. For minor bends, use needle-nose pliers to carefully straighten the tab, supporting the base with your finger to prevent stress cracks. Severely damaged tabs may require reinforcement with a small piece of metal or careful soldering.
Misaligned parts often result from rushing the assembly process or skipping test-fitting steps. When parts don't align properly, first verify you're following the correct sequence and orientation shown in the instructions. Check for interference from burrs or bent components. Sometimes, slightly enlarging connection holes with a small drill bit or needle file provides the adjustment needed for proper alignment.
Loose connections can plague finished models, causing sections to separate or move unexpectedly. Prevention is key – ensure tabs are fully inserted and properly formed during initial assembly. For existing loose connections, carefully disassemble the joint, slightly expand the tab with gentle hammer taps on a hard surface, and reassemble for a tighter fit.
Surface scratches and marks are almost inevitable during assembly but can be minimized and repaired. Use pliers with smooth or taped jaws to prevent tool marks. For existing scratches, progressive sanding with increasingly fine grits followed by metal polish usually restores the original finish. Deep scratches may require starting with 220-grit sandpaper and working up to 600-grit before polishing.
Preventing Common Mistakes
Many problems can be avoided entirely with proper preparation and technique. Always read the entire instruction manual before starting, paying attention to any warnings or special notes. Keep your workspace organized and well-lit to prevent handling mistakes. Take regular breaks to maintain focus and prevent fatigue-related errors that can damage delicate components.
Advanced Finishing Techniques for Professional Results
The difference between a good metal model and a stunning display piece often lies in the finishing work. Professional finishing techniques transform your completed assembly into a museum-quality piece that showcases both the kit's engineering and your craftsmanship.
Surface preparation forms the foundation of all finishing work. After completing assembly, inspect the entire model for tool marks, fingerprints, or oxidation spots. Clean all surfaces with degreasing solution or alcohol to remove oils and residue that can interfere with finishing materials.
For models intended to maintain their natural metal appearance, progressive polishing creates stunning results. Start with 400-grit sandpaper to remove any remaining scratches or imperfections, working systematically across all surfaces. Follow with 600-grit, then 800-grit for increasingly smooth finishes. Final polishing with metal polish and a soft cloth brings out the characteristic luster of the base metal.
Selective detailing adds visual interest and realism to your models. Consider darkening recessed areas with diluted black paint or weathering solutions to create shadow effects that emphasize the model's dimensional qualities. Panel lines can be highlighted with thin washes of contrasting colors that settle into grooves and joints.
Some builders prefer protective coatings to preserve their finished models. Clear lacquer or specialized metal sealers prevent oxidation and make cleaning easier. Apply these coatings in thin, even layers, allowing complete curing between coats for best results.
Display and Storage Considerations
Proper display enhances your model's visual impact while protecting your investment of time and effort. Choose locations away from direct sunlight, which can cause uneven heating and potential warping. Dust covers or display cases protect against handling damage and environmental contamination while allowing full visibility of your craftsmanship.
Choosing the Right Metal Model Kit for Your Skill Level
Success in metal model kit assembly often depends on selecting projects appropriate for your current skill level and available time. Understanding the complexity spectrum helps ensure enjoyable building experiences that build confidence rather than causing frustration.
Beginner-friendly options typically feature larger parts, simpler assembly sequences, and more forgiving tolerances. Look for kits with fewer than 50 pieces and straightforward geometric shapes. Vehicle models often make excellent starting points because their familiar forms make it easier to identify when something isn't quite right during assembly.
Intermediate projects introduce more complex geometries, smaller components, and multi-step sub-assemblies. These kits might include curved surfaces, intricate details, or moving parts that require more precise alignment and assembly techniques. Building experience with several beginner kits provides the foundation needed to tackle these more challenging projects successfully.
Advanced models push the boundaries of what's possible with precision-cut metal sheets. These kits may include hundreds of pieces, require specialized tools or techniques, or demand exceptional patience and attention to detail. Consider these projects only after mastering fundamental skills and developing the persistence needed for long-term projects.
While exploring the world of metal models, you might also discover complementary hobbies that share similar skills and satisfaction. Architectural model kits offer different challenges while using many of the same precision assembly techniques. Wooden ship models provide variety in materials while maintaining the focus on detailed craftsmanship.
Building Your Model Kit Collection
Metal model kit assembly becomes increasingly rewarding as you develop skills and build a collection of completed projects. Each new kit presents opportunities to refine techniques, try new finishing approaches, or tackle more ambitious subjects.
Consider diversifying your collection across different themes and complexity levels. Transportation models – cars, planes, ships, and trains – offer familiar subjects with varying levels of detail and challenge. Architectural models provide opportunities to explore different cultural styles and construction techniques. Fantasy and science fiction subjects allow creative interpretation and unique finishing approaches.
The skills developed through metal model assembly transfer beautifully to other crafting hobbies. Many builders find themselves drawn to mechanical music boxes that combine precision assembly with functional mechanisms, or detailed diorama projects that showcase completed models in realistic settings.
Document your progress with photos throughout each build. These records help you remember successful techniques, identify areas for improvement, and share your experiences with other enthusiasts. Many builders find that maintaining a project journal enhances their enjoyment and helps them plan future builds more effectively.
Start Your Metal Model Kit Assembly Journey Today
Metal model kit assembly offers a perfect blend of technical challenge, artistic expression, and satisfying craftsmanship. Whether you're seeking a relaxing hobby, looking to develop new skills, or wanting to create impressive display pieces, these precision-engineered kits provide endless opportunities for creativity and accomplishment.
The techniques and tips covered in this guide provide the foundation you need to start building with confidence. Remember that every expert builder started as a beginner – the key is choosing appropriate projects, using proper tools and techniques, and learning from each assembly experience.
Ready to begin your metal modeling adventure? Explore our complete selection of model kits and crafting supplies to find the perfect project for your skill level and interests. From beginner-friendly designs to complex architectural marvels, you'll discover kits that challenge and inspire while building skills that last a lifetime. Start with a simple project, master the fundamentals, and watch as your capabilities and confidence grow with each completed model.
Shop products from this guide
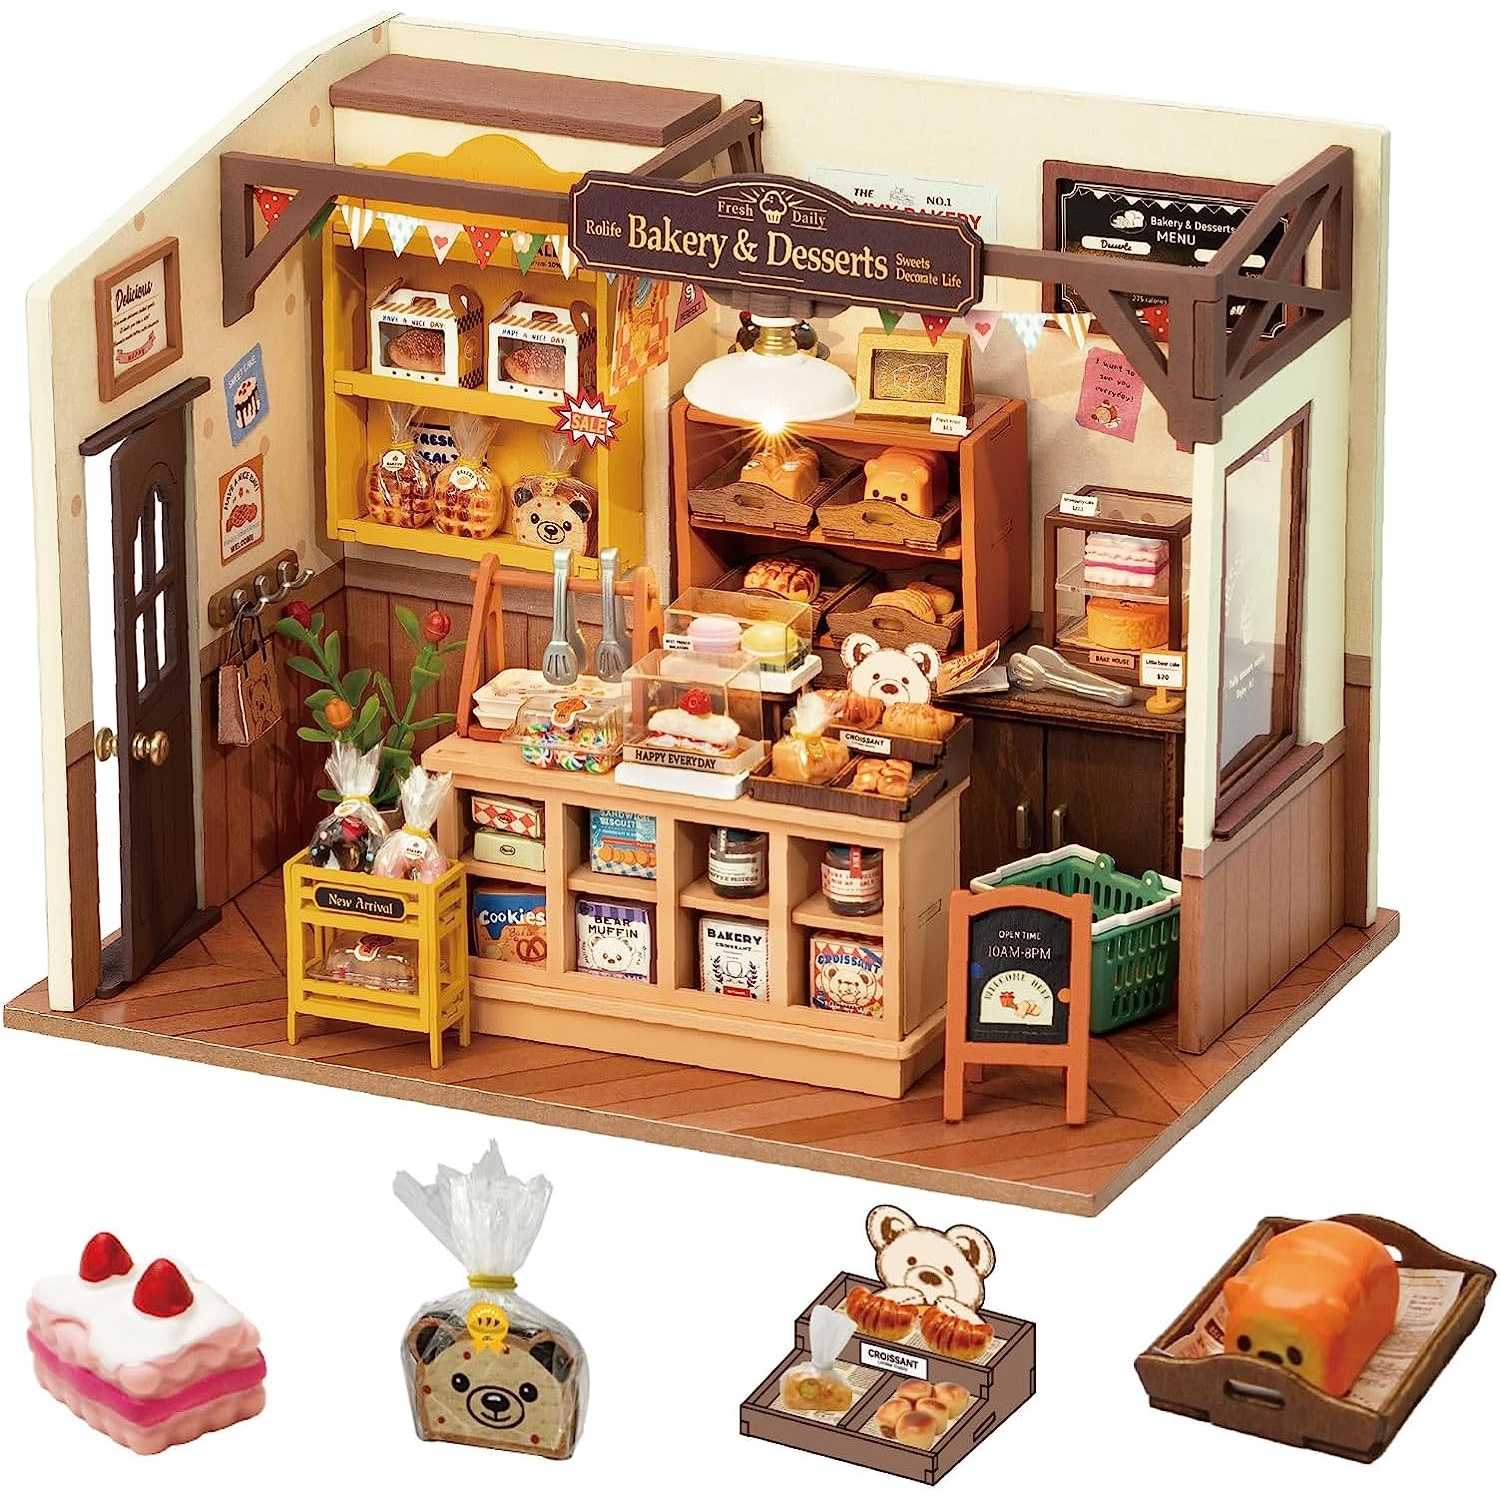
Beccas Bakery DIY Model Kit - 150+ Pieces with LED Lights
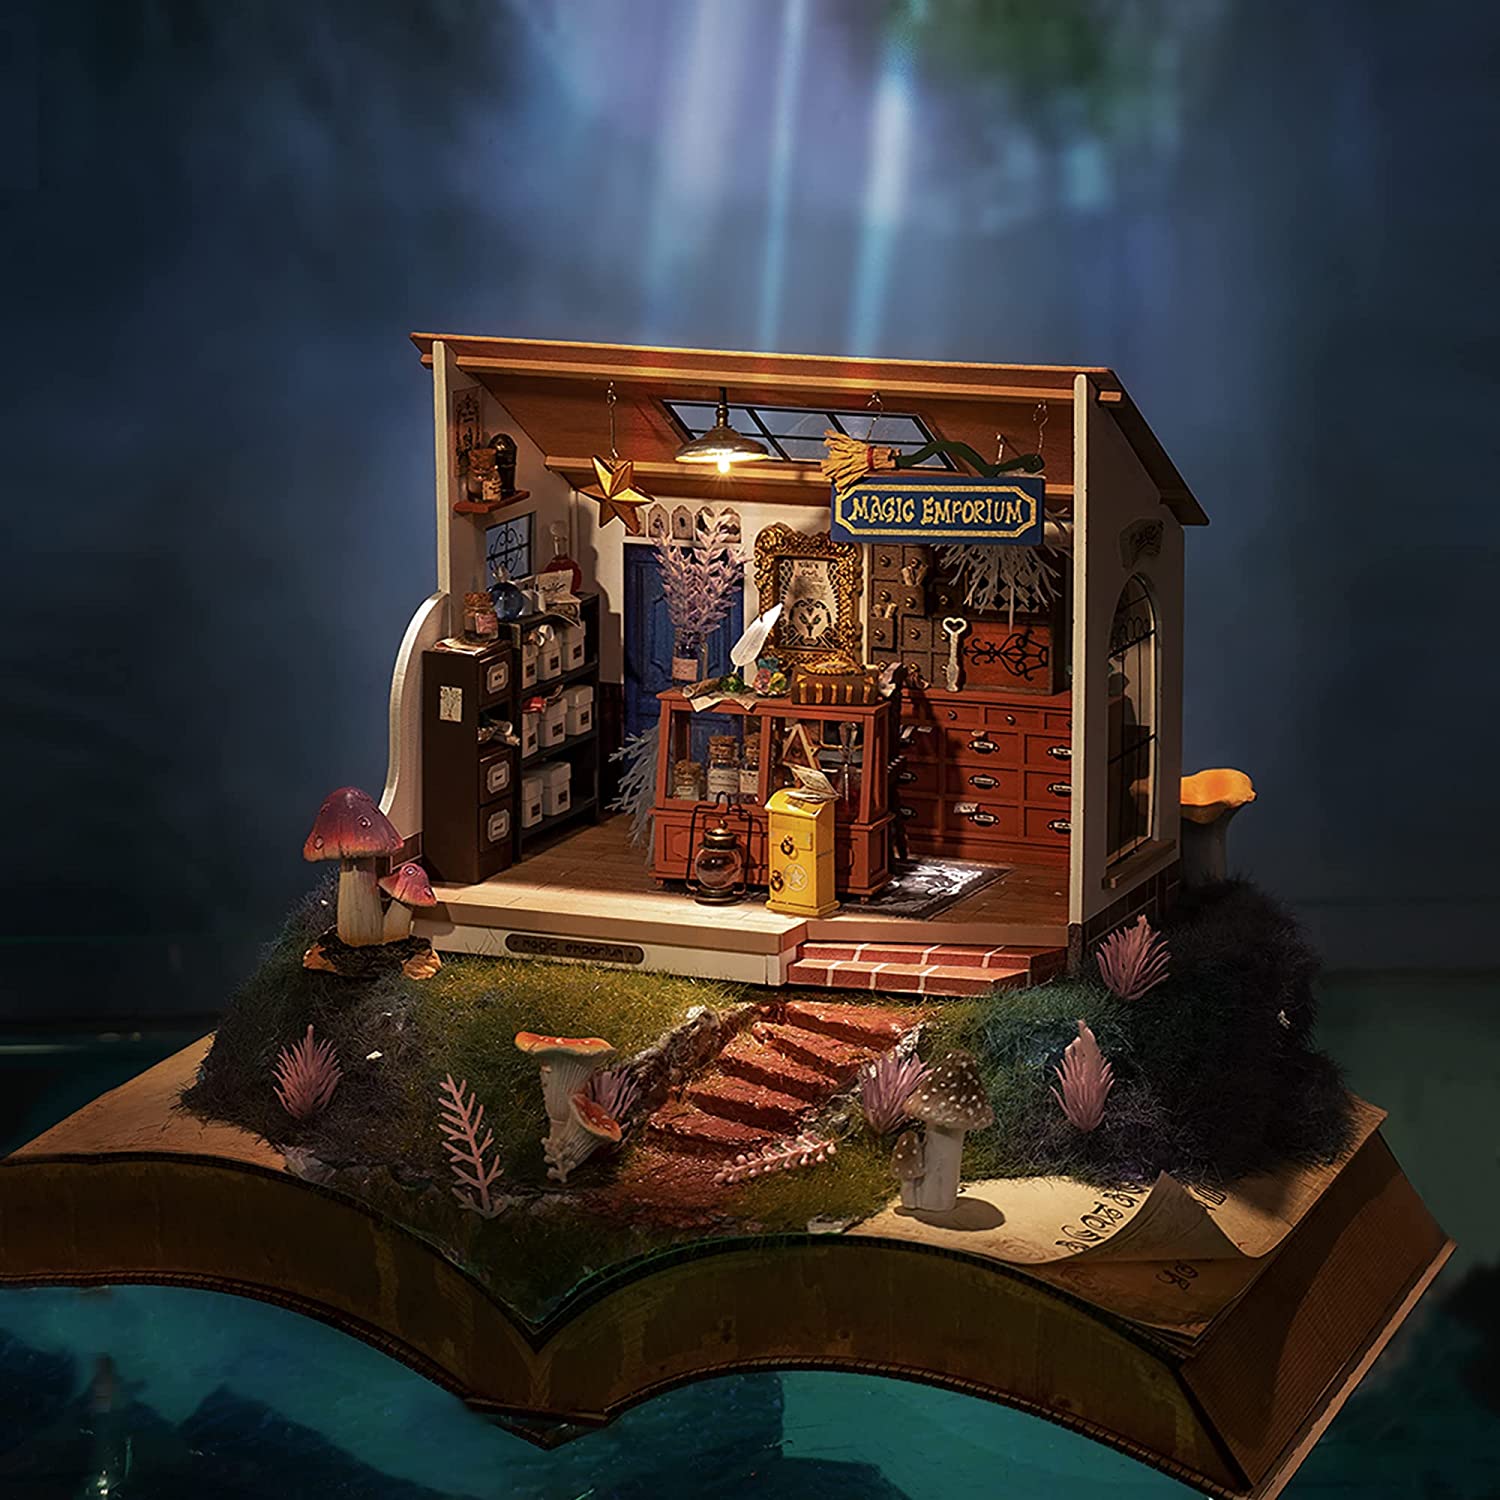
Kiki's Magic Shop DIY Kit - LED Miniature Building Set
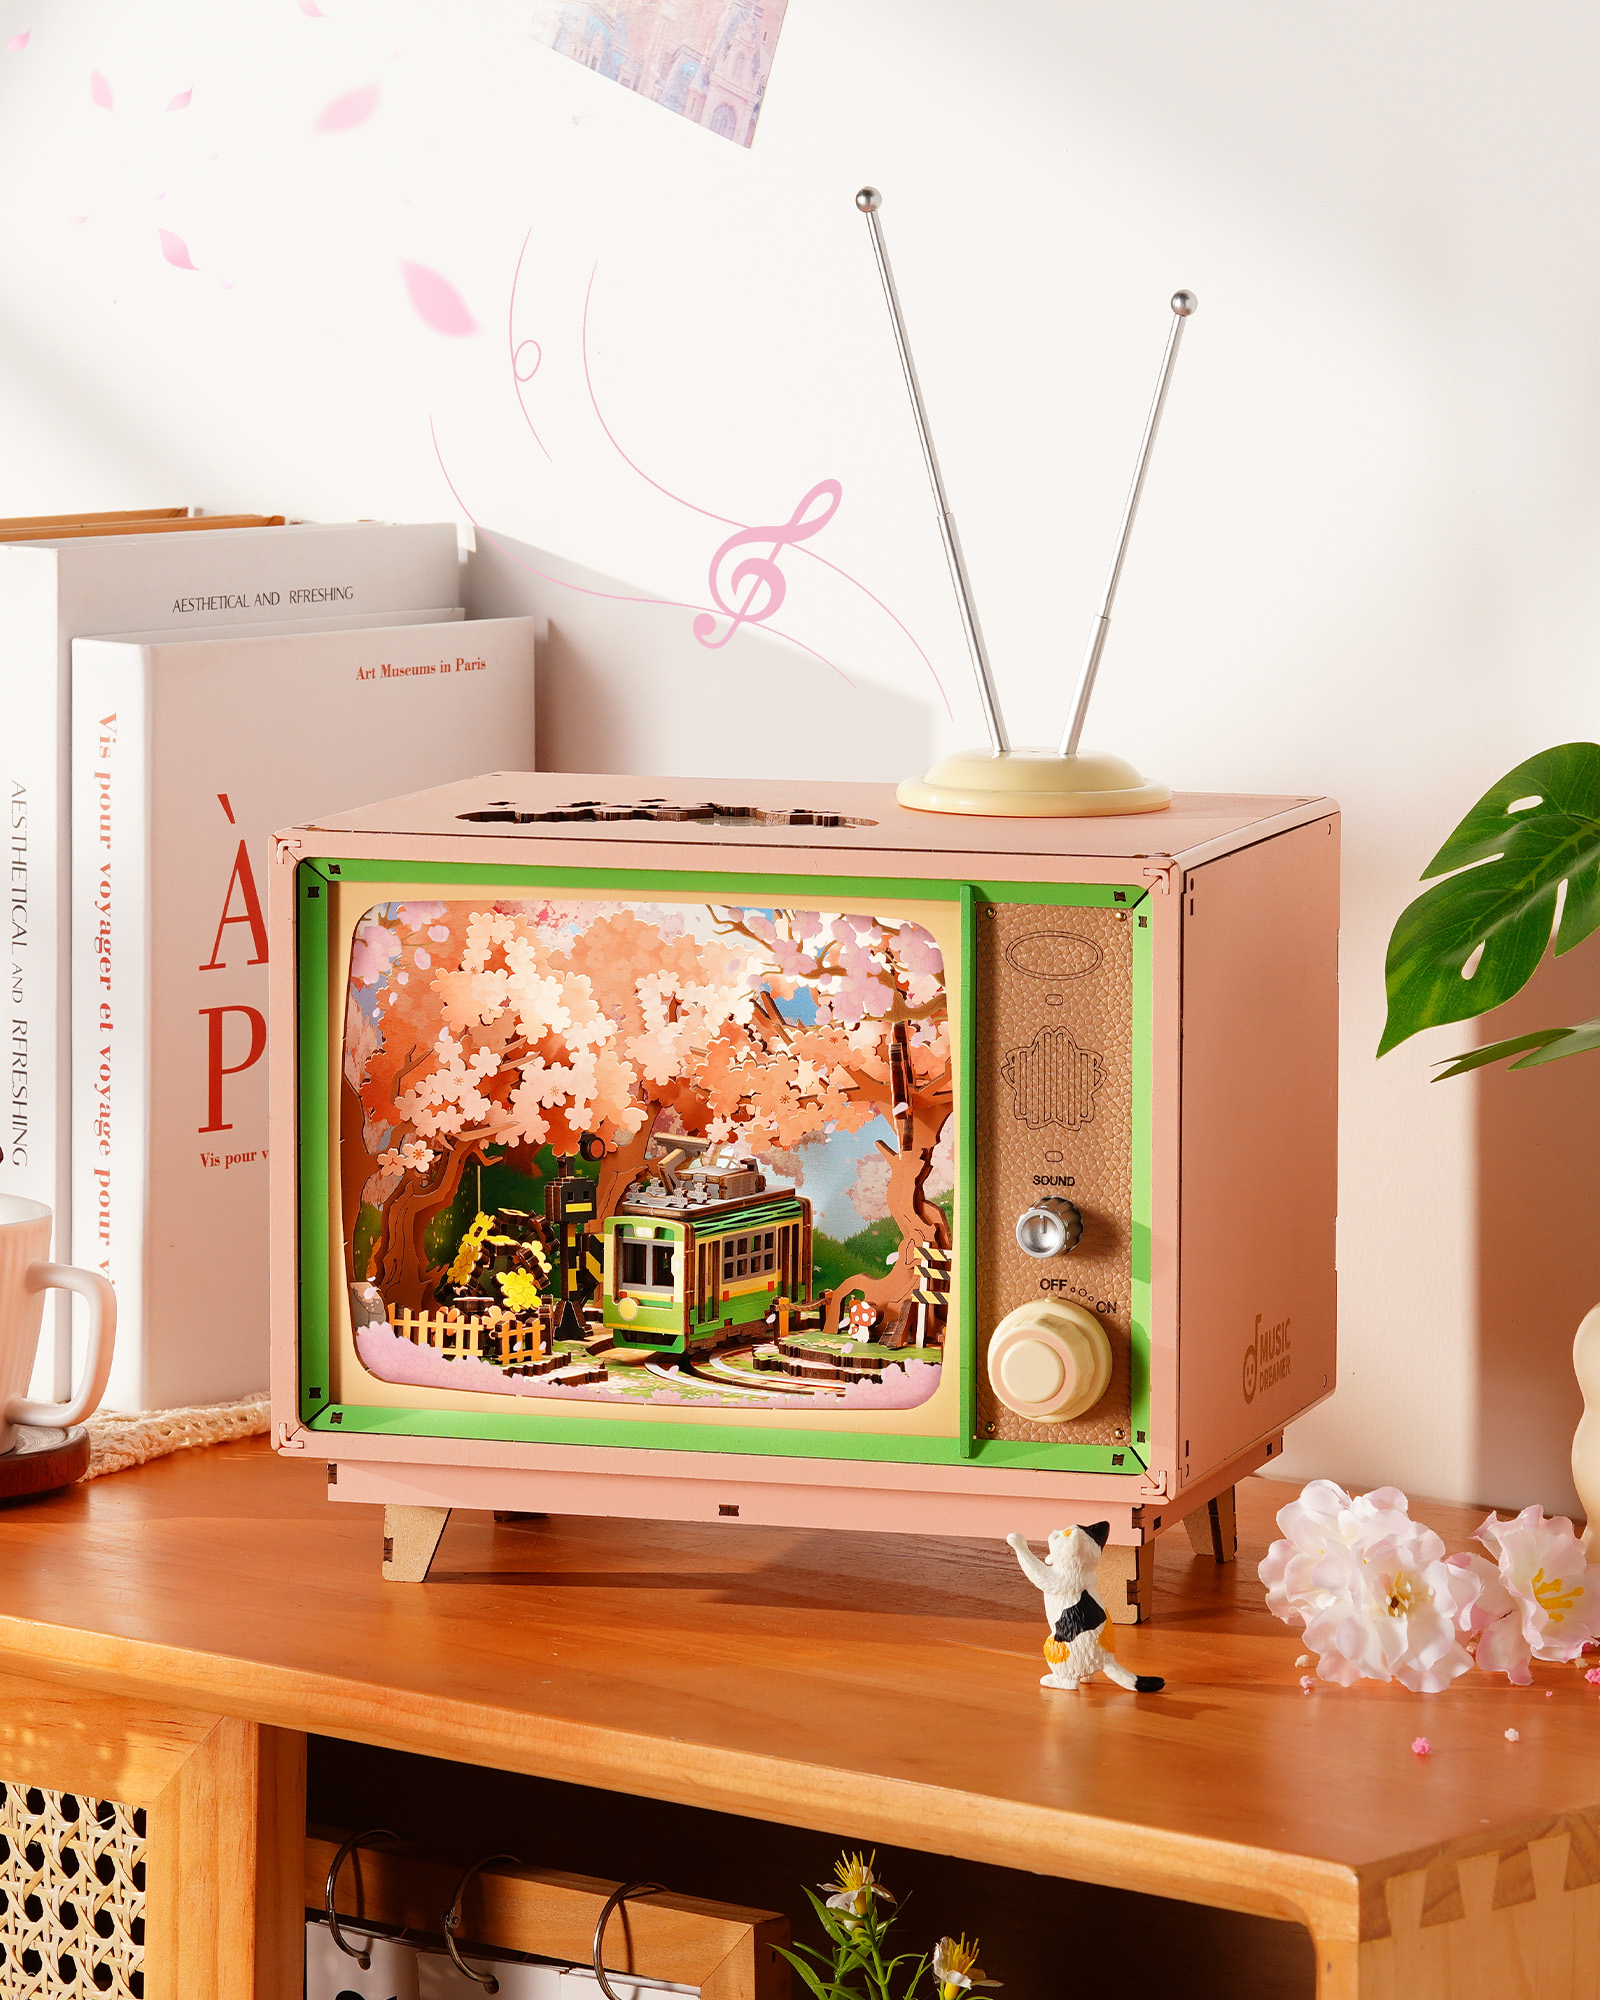
Cherry Blossom Tram DIY Model Kit - 200+ Pieces w/ LEDs
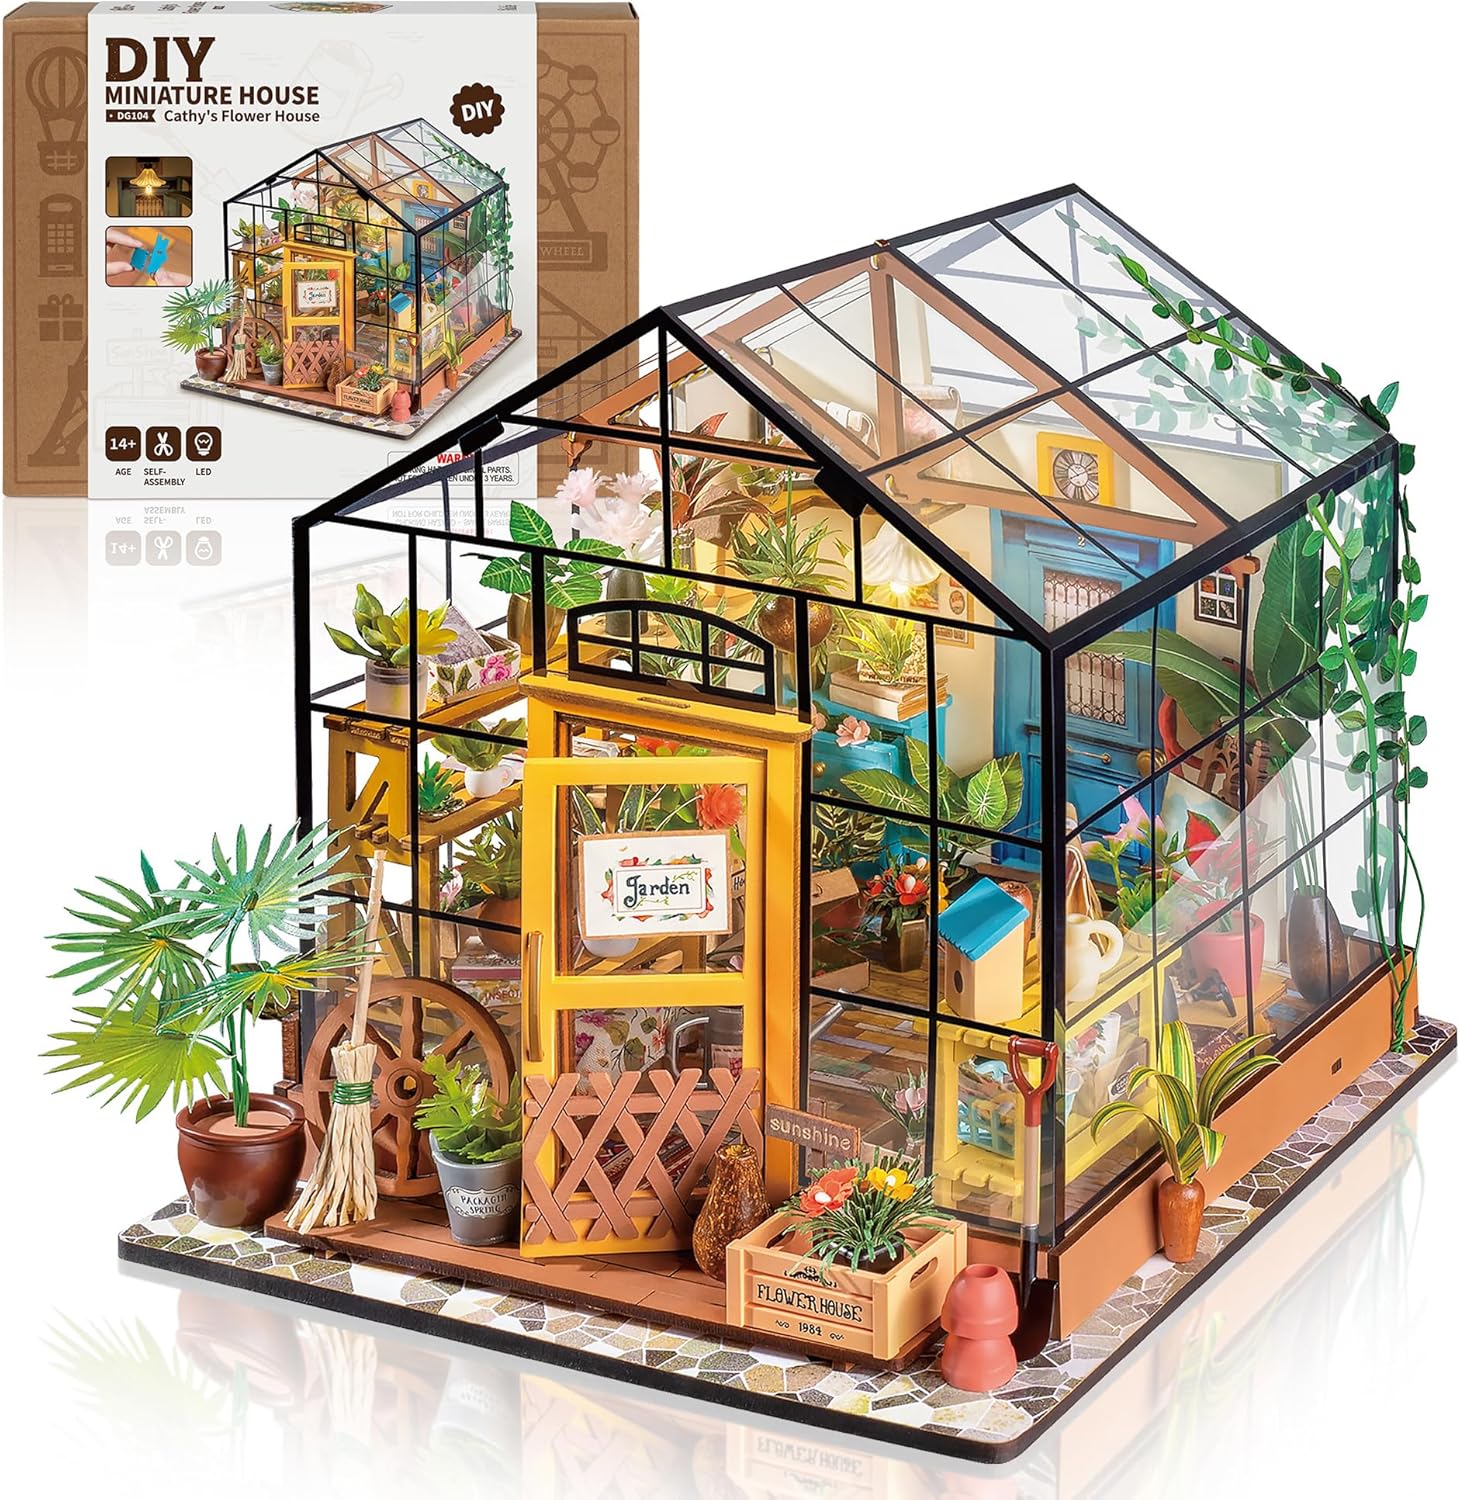
Cathys Flower House DIY Kit - Miniature Greenhouse Craft
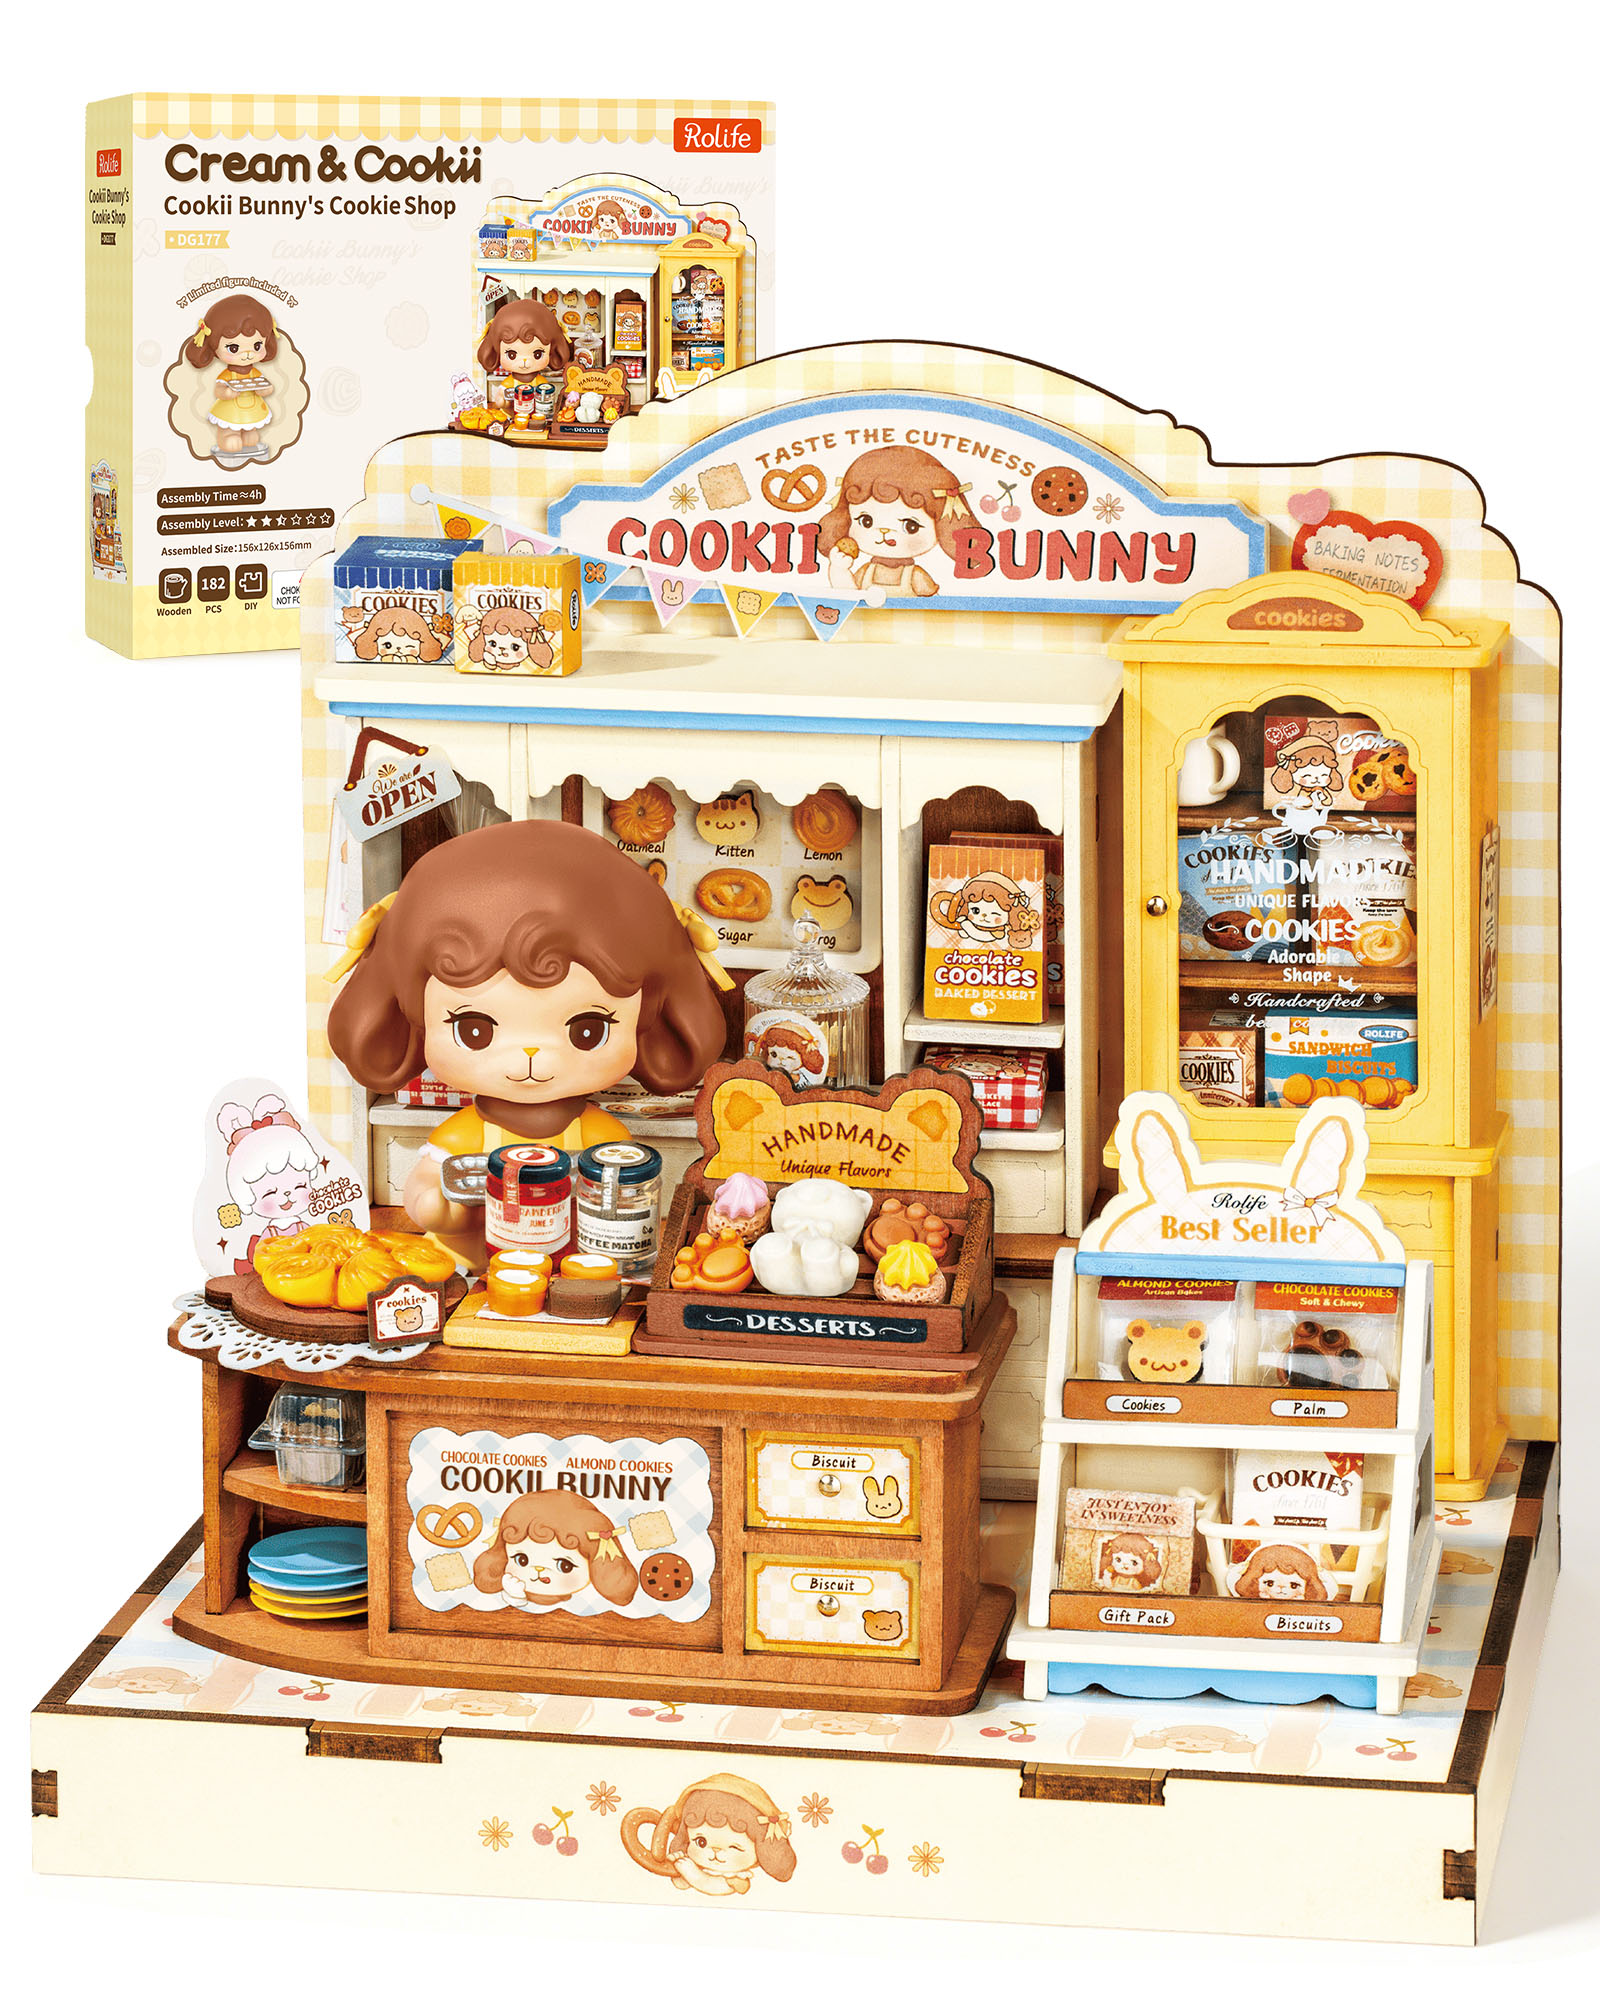
Rolife Cookii Rabbits Biscuit Shop DIY House Kit - 182pcs